Snowy Adventures: Tips for Driving to Big Bear Safely
Hey! Quick note: This page contains affiliate links. If you buy through them, I may earn a small commission at no extra cost to you. As an Amazon Associate, I earn from qualifying purchases.
Big Bear, California, is a magnificent place to visit, but driving there during the snow season can be full of challenges. Here’s a list of tips to help you have a safe and smooth trip to this winter wonderland!
Check the road conditions and restrictions
Check the weather forecast and road conditions before you head out. Knowing what you’re up against is always better so you can prepare accordingly. If the roads are closed, delaying your trip until they are open is best.
Chain Control Tiers
- R-0: There are no restrictions on any vehicles
- R-1: Chains are required if you don’t have snow tires
- R-2: Chains are required if you don’t have a four-wheel or all-wheel drive with snow tires on all four wheels.
- R-3: All cars are required to have chains, no matter what type of vehicle you have.
One Thanksgiving, my family and I decided to head out to Big Bear for a change of scenery. As we were approaching CA-330, the roads were starting to close. We decided to stay in a hotel at the base of the mountain in Redlands, hoping that the road would clear up the next day. Unfortunately, the snow was too much for the plows to handle, and we had to head back home. It was a bummer, but we were happy that we didn’t get stranded in the freezing cold and were able to return home safely.
Is your car ready for the snow?
Make sure your vehicle is equipped for winter driving. This includes having snow tires chains and knowing what type of drivetrain you have.
How to determine if you have snow tires
The tire wall will have at least one of the following:
- M + S (for mountain and snow)
- Three peak mountain snowflake symbol (3PMSF), which looks like a mountain with a snowflake inside.
Do you have a two-wheel drive or four-wheel drive (all-wheel)?
This comes into play when checking for chain control.
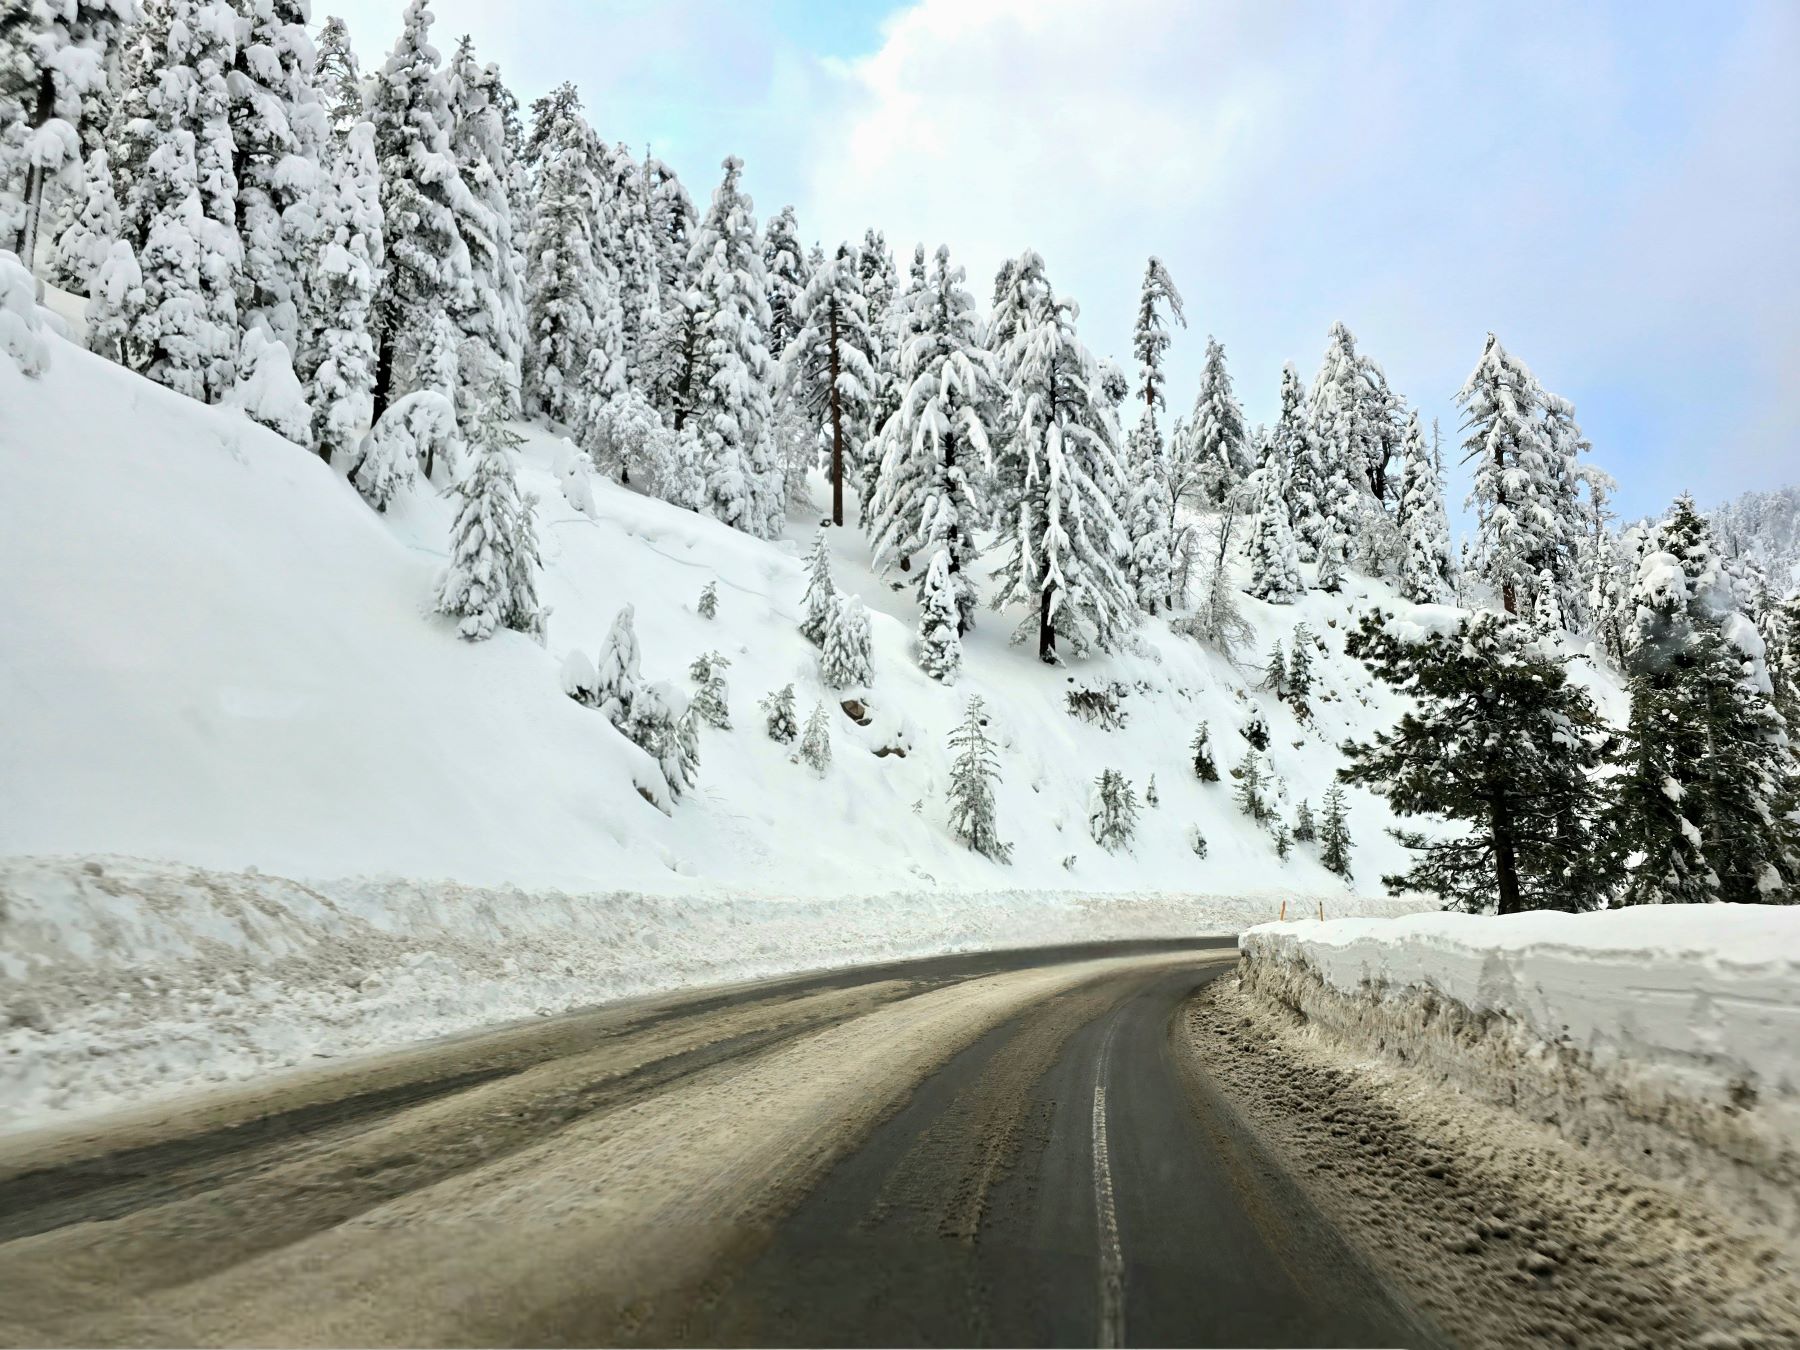
We drove up to Big Bear recently after a big storm that brought eight feet of snow, and the roads were R-2. Thankfully, we have a four-wheel drive with snow tires, so we didn’t have to go through the hassle of putting on chains.
There are places to pull over on the side of the road before going through the CHP checkpoint, and it gets pretty crowded at each location. After seeing the number of cars trying to put chains on, I would consider renting a four-wheel drive if I didn’t have one to avoid that mess. If you consider renting a car, be aware that most rental companies do not allow you to put chains on rental cars.
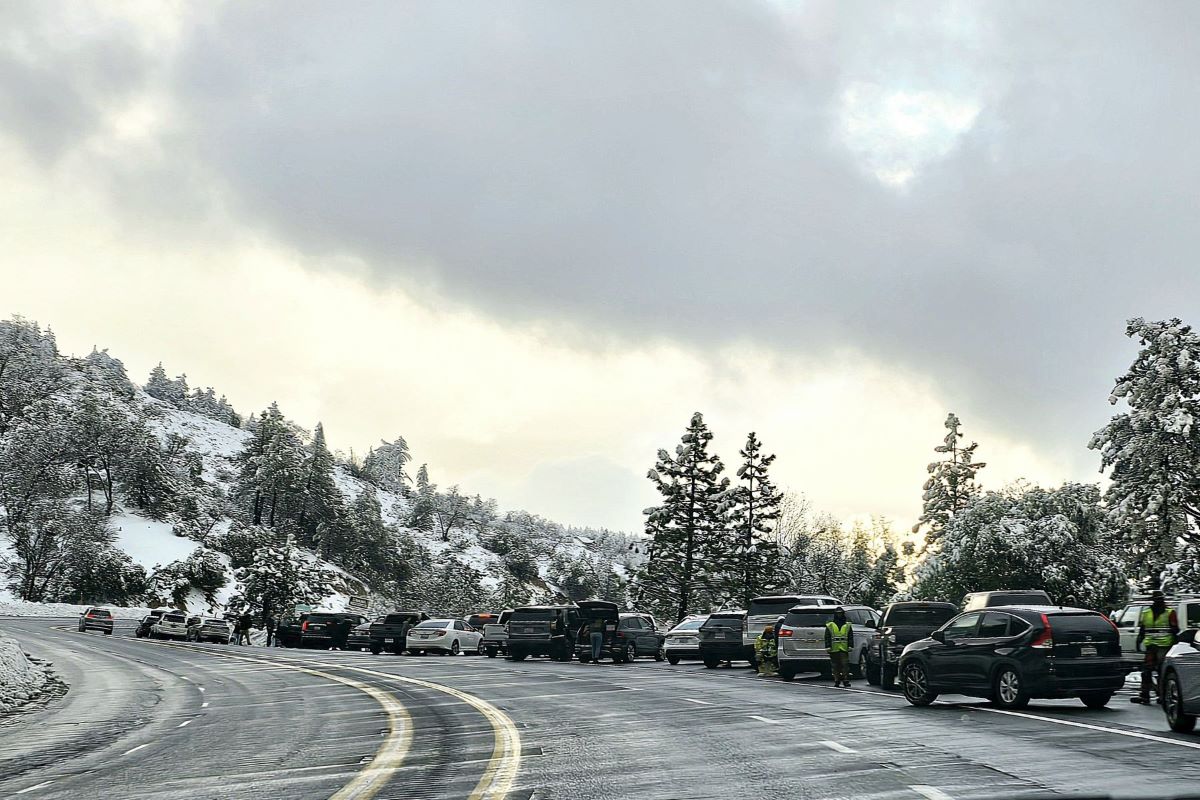
You can get cited and fined at the checkpoint if you don’t have chains on when you’re supposed to. So make sure you know what type of car you have and if you need to put chains on. The chains required signs are typically about a mile before the checkpoint.
How to pick out chains for your car
1. Check your owner’s manual
Review your owner’s manual to determine if there are any restrictions for your car.
For instance, my car is an all-wheel drive and has a very low clearance between the tires and the car. The manual says not to use chains because it could be damaging. I ended up buying cable chains that are specifically for S.A.E. Class S (low-clearance) cars, but I haven’t had to use them. I keep them in my trunk, just in case.
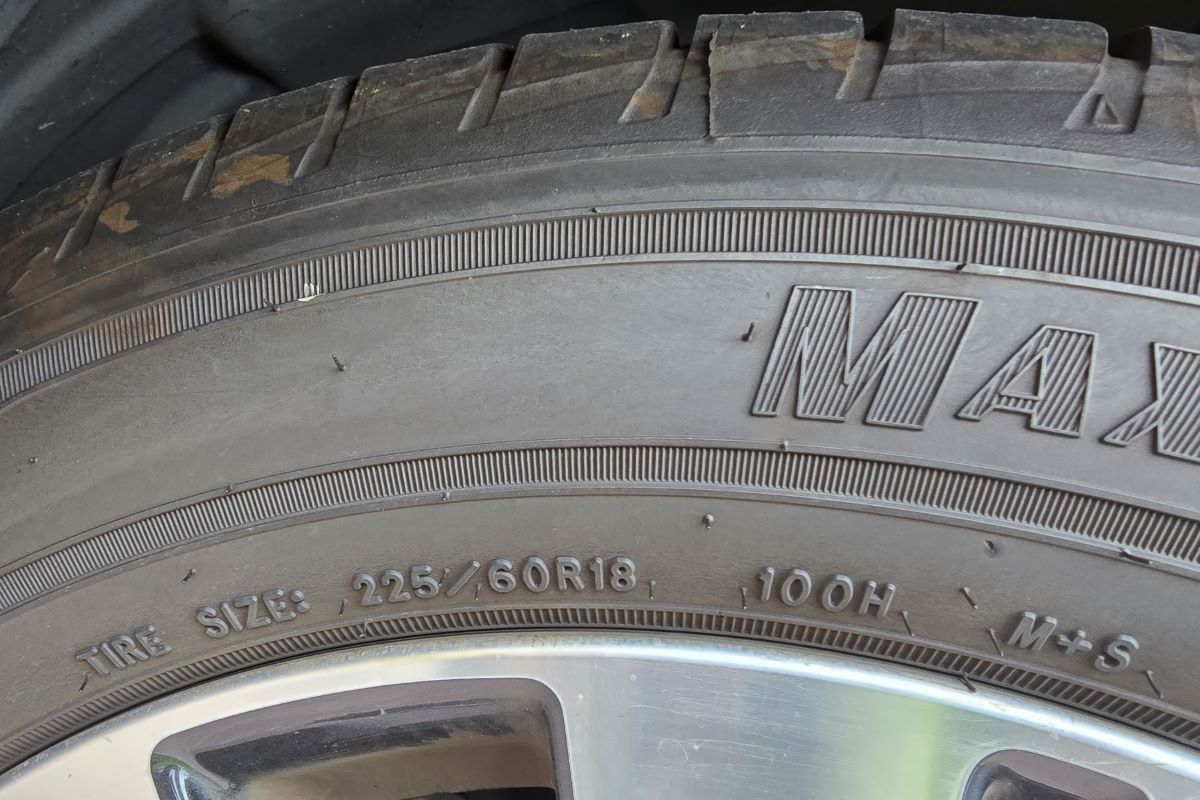
2. Determine your car’s tire size
You can quickly check your tire’s sidewall for height, width, and wheel diameter. For example, 225/60R18. 225 is the height, 60 is the width, and 18 is the wheel diameter.
The 100H is the speed rating for the tires (100 mph maximum), which you don’t need to know when buying chains or traction devices. The M+S refers to mountains and snow, meaning they are snow tires.
3. What conditions will you be using the chains?
- Snow (heavy, light)
- Ice
- Highway
- Off-road
4. What are the different types of chains and patterns?
There are all kinds of chain types, patterns, and alternatives. Here are some common ones to use.
5. Use a snow chain fit guide
e-trailer.com is a great resource to help narrow down which type of chains are best for your car. This website has a detailed search tool that allows you to search by year, make, model, and tire size. Then, you can filter by chain type, road conditions, installation, etc.
6. Practice putting the chains on your car before your trip
Putting on chains is a pain, and trying to figure in the cold would not be fun. I am guilty of not doing this, so I don’t even know if my cable chains will actually work with the clearance on my car. It’s time for me to follow the steps in my own post!
7. Where to go for help with selecting chains
If you want more assistance selecting chains for your car, you can schedule an appointment at Discount Tires. You can also go to places like AutoZone, which is where we bought my cable chains, and they were helpful.
Drive safely and be courteous
It’s important to drive cautiously when there’s snow and ice on the roads. Drive at a slower speed than you normally would, and keep a safe distance from the car in front of you.
Sometimes, after heavy snowfall, passing lanes will disappear due to the snow plow, so you really have to go with the flow.
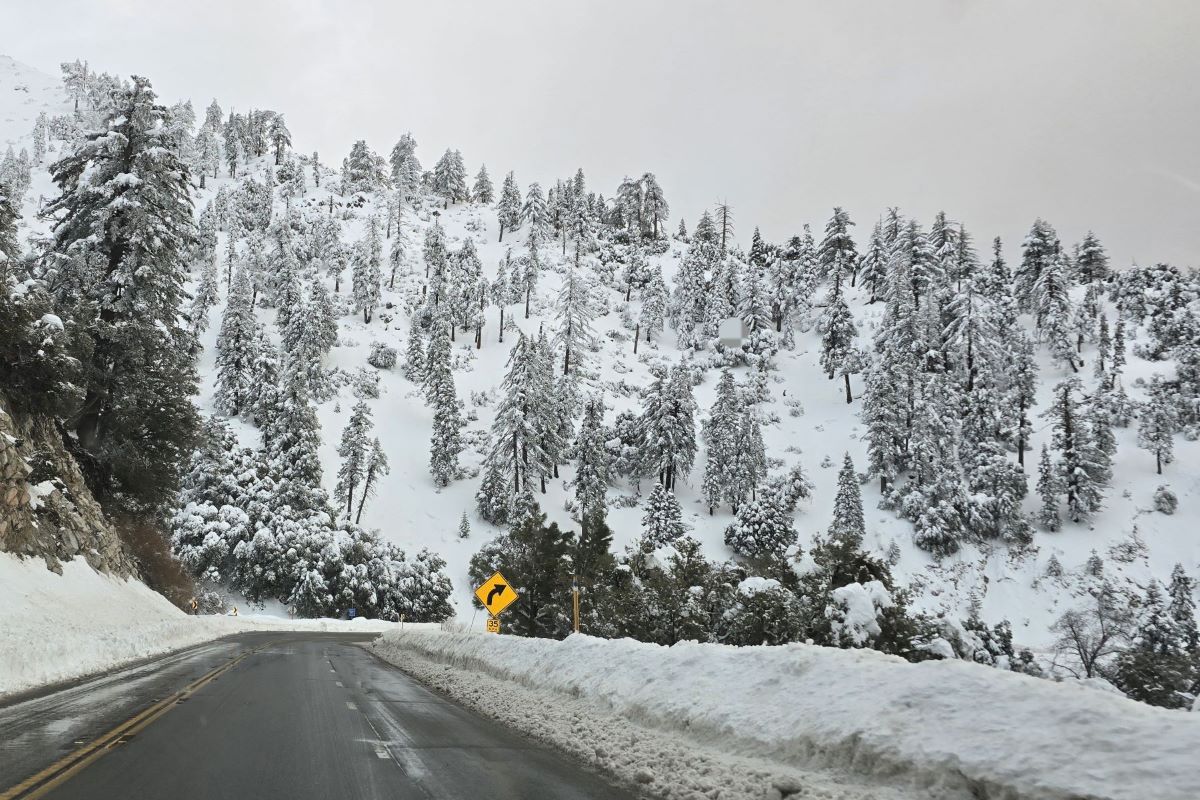
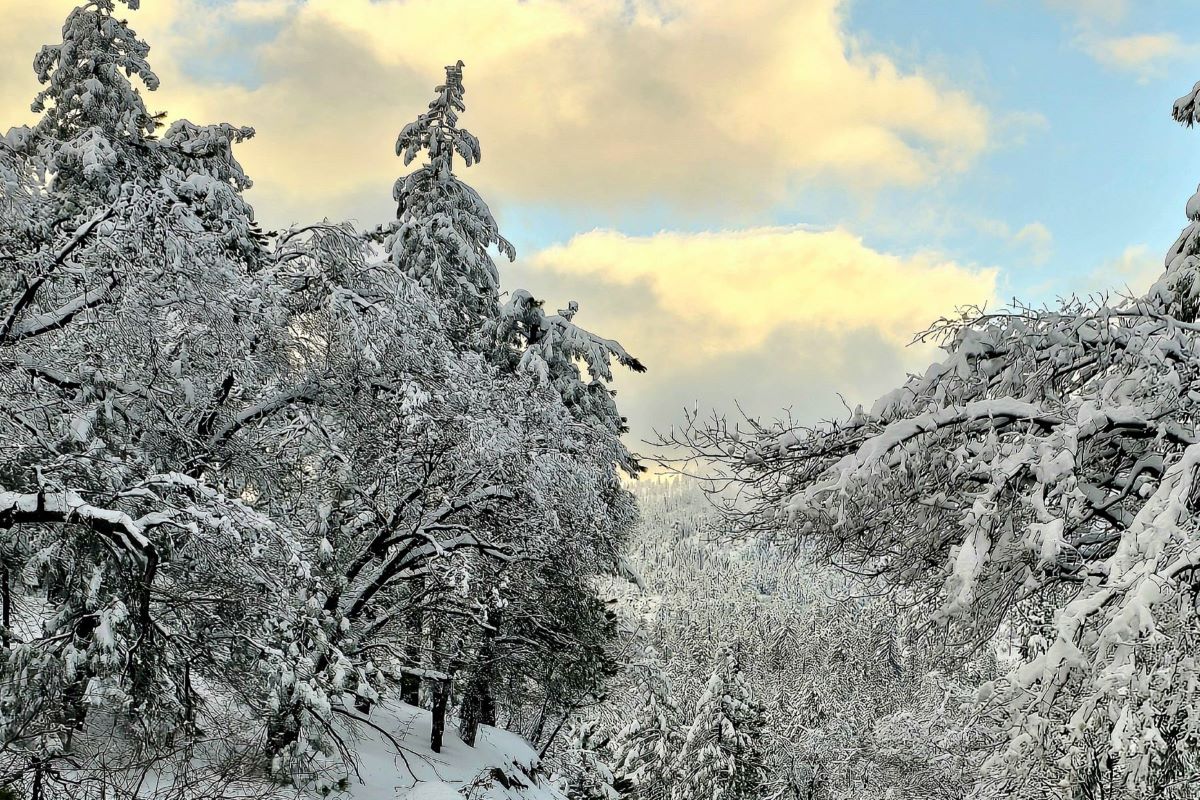
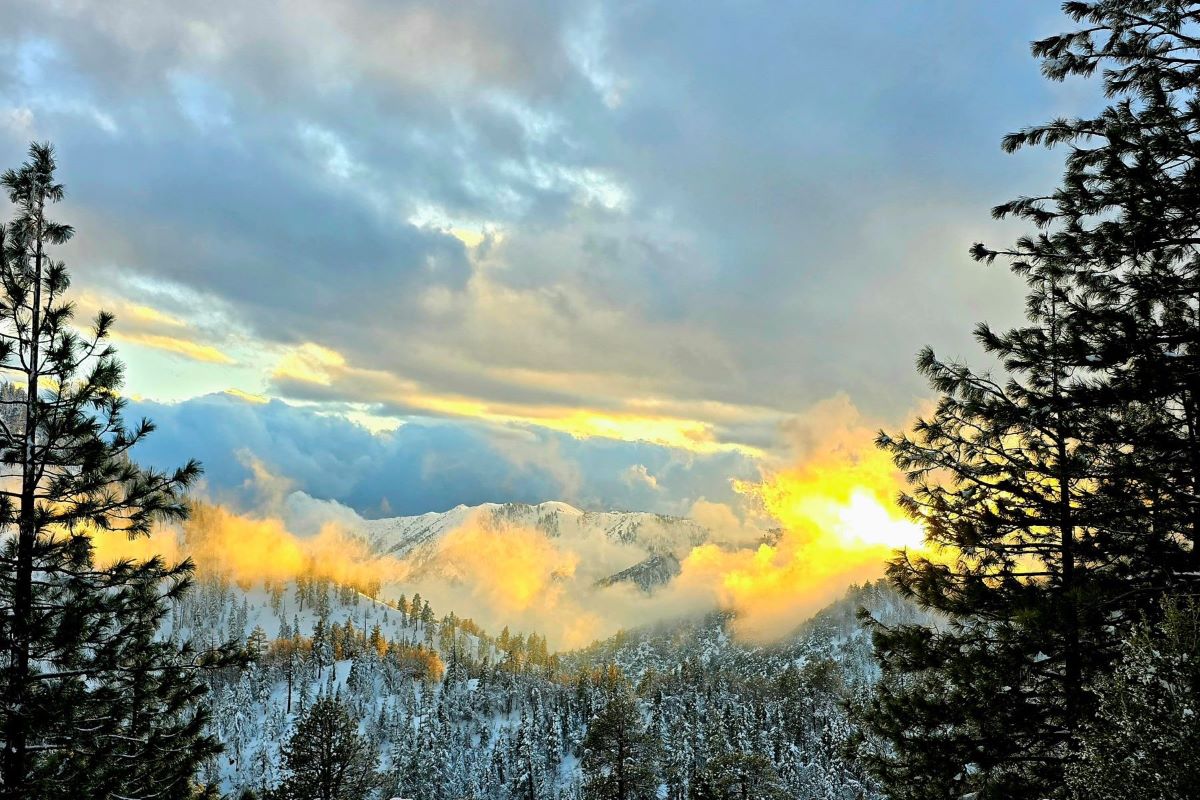
Despite the slow pace, there are some benefits, like capturing amazing photos. During our drive, we passed a picturesque sunset while moving at a leisurely five miles an hour. Many people had their phones out the window, and some even stood out of their sunroofs to get the perfect shot!
Know when to let people pass you
Driving in the snow can be nerve-wracking for many people. We all tend to drive slower in such conditions, but if you notice that there is a line of cars behind you and no one is in front of you, it’s courteous to use a turn-out and let people pass. Doing so is not only a kind gesture, but it’s also California law.
During our last trip, despite the availability of plenty of large turn-outs, we were stuck behind a driver who refused to pull over. The cars lined up behind us extended farther than we could see, which was frustrating for everyone involved.
On the flip side, it’s important to remember not to drive too fast. Even if you are very accustomed to driving in snow, keep in mind that most people, especially in California, are not used to this.
Supplies
It’s always a good idea to plan ahead and bring essential supplies to prepare for any emergency while driving to Big Bear during the snow season. This includes some of the following:
- warm clothing
- blankets
- food
- water
- fully charged cellphone
- external battery pack for cell phone
- flashlight and batteries
- ice scraper
- shovel
- sand or non-clumping kitty litter
- jumper cables
- Emergency car kit
Check out Almanac’s Winter Car Emergency Kit for a more comprehensive list.
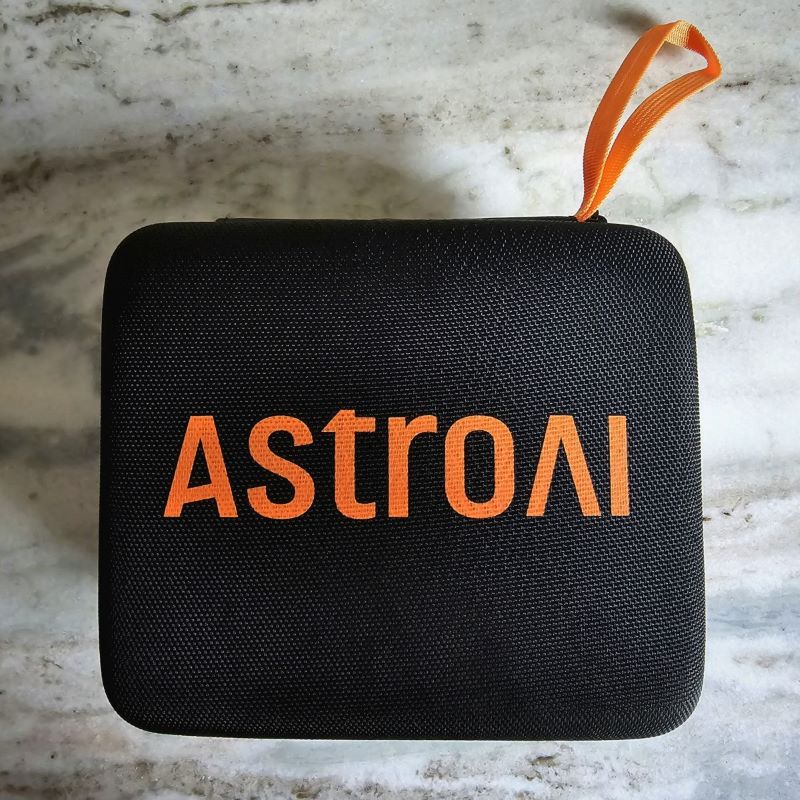
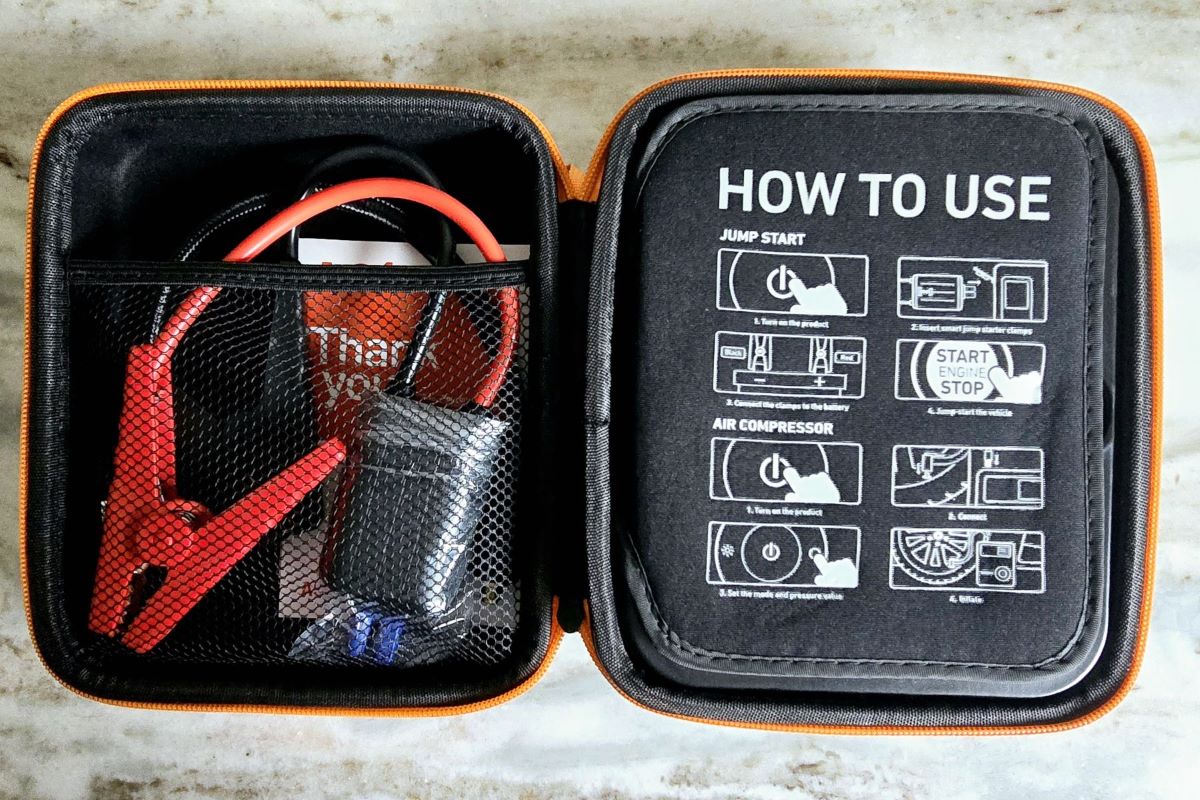
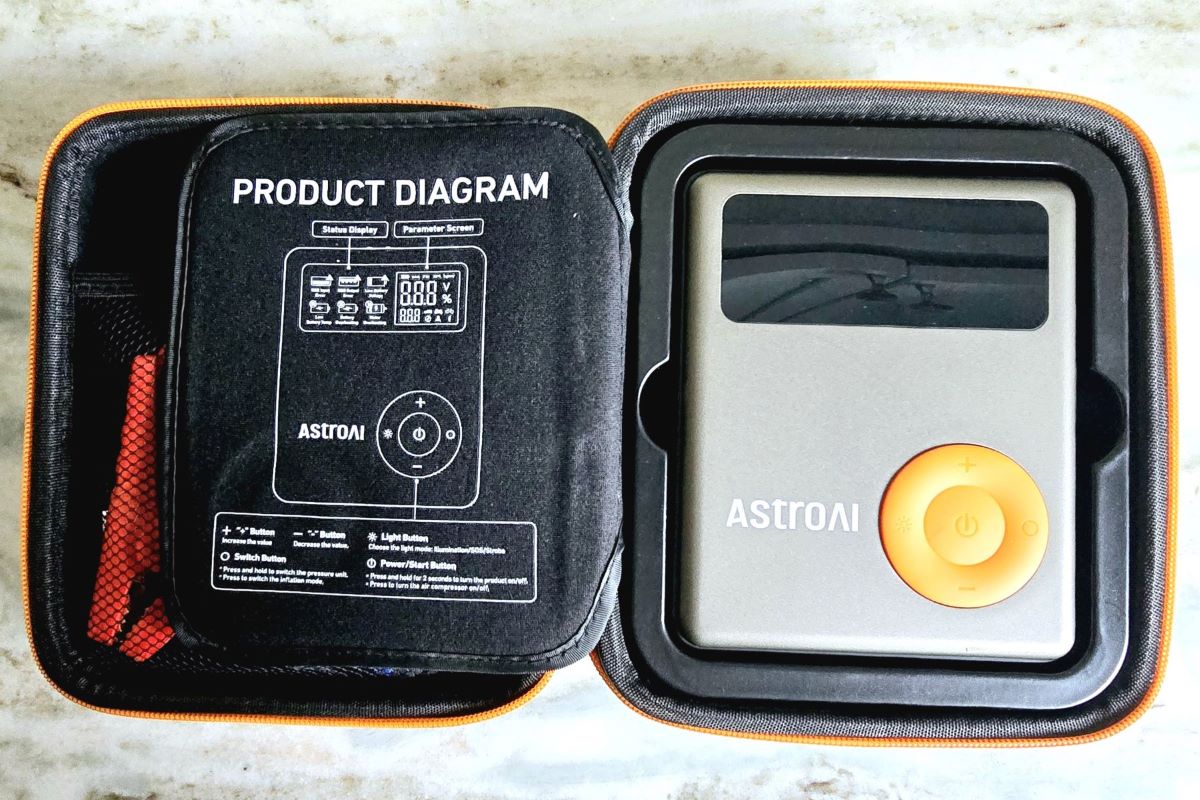
Aside from emergency supplies for winter driving, I also highly recommend keeping a jump starter with an air compressor in your car all the time. With this tool, you can inflate your tires and jump-start your car without the need for jumper cables and another vehicle to tether to. Recently, after coming back from a vacation, my husband had to jump my car in our garage, and it was a breeze. There was no need to struggle with cables to connect my husband’s car. All he had to do was connect the jump starter, turn it on, and my car started within seconds.
Allow yourself plenty of time
Be prepared for delays. As mentioned earlier, snow and ice can cause traffic to move slower than usual, so give yourself plenty of time to reach your destination.
Without traffic, it takes us a little over two hours to get to Big Bear from our house. However, on our last trip, we left at 1 pm on a Friday (our first mistake), and it took us about three and a half hours to reach the Lagonita Lodge. The worst part of the drive for us was getting through Temecula on the 15 freeway. It was raining, and we had to exit and take side streets. The 215 freeway was also a mess. Next time, we’ll leave early in the morning to avoid traffic on our way to the base of the mountain!
Hello Big Bear!
Yay, you made it! Have a wonderful time! For ideas about where to stay, eat, and things to do, check out How to Get Away for the Weekend at Big Bear Lake.
Related posts to help you plan a trip to Big Bear
- How to Get Away for the Weekend at Big Bear Lake
- Lagonita Lodge: Your Affordable Lakefront Escape in Big Bear
- Sledding at Aspen Glen Picnic Area in Big Bear
- A Thrilling Day at Alpine Slide Big Bear: All You Need to Know
- Big Bear Lake Recommendations Quick Guide